Table of contents
- Link to Galaxy Deployment
- Link to Website
- About Manoa Gaming
- Installation
- Application design
- Development history
About Manoa Gaming
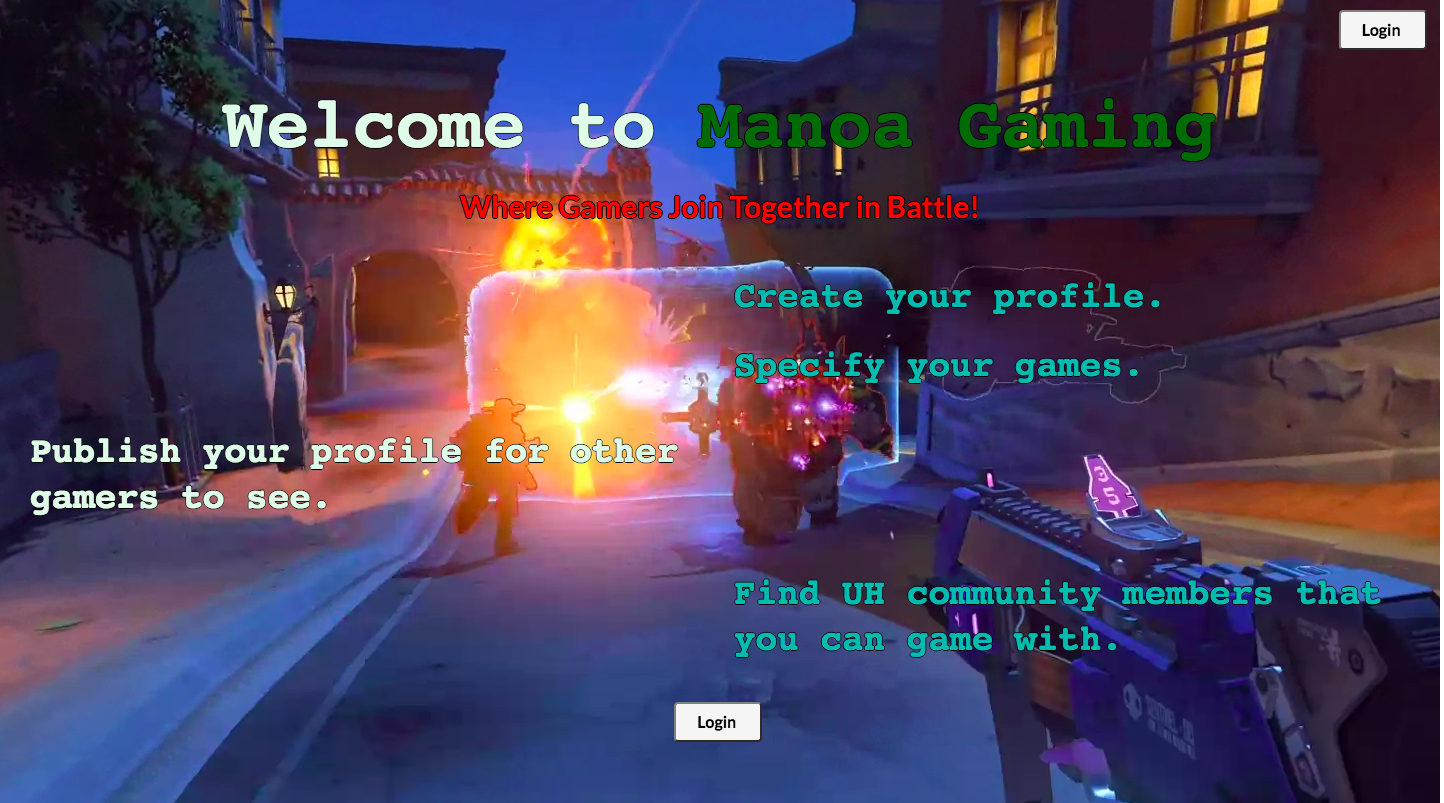
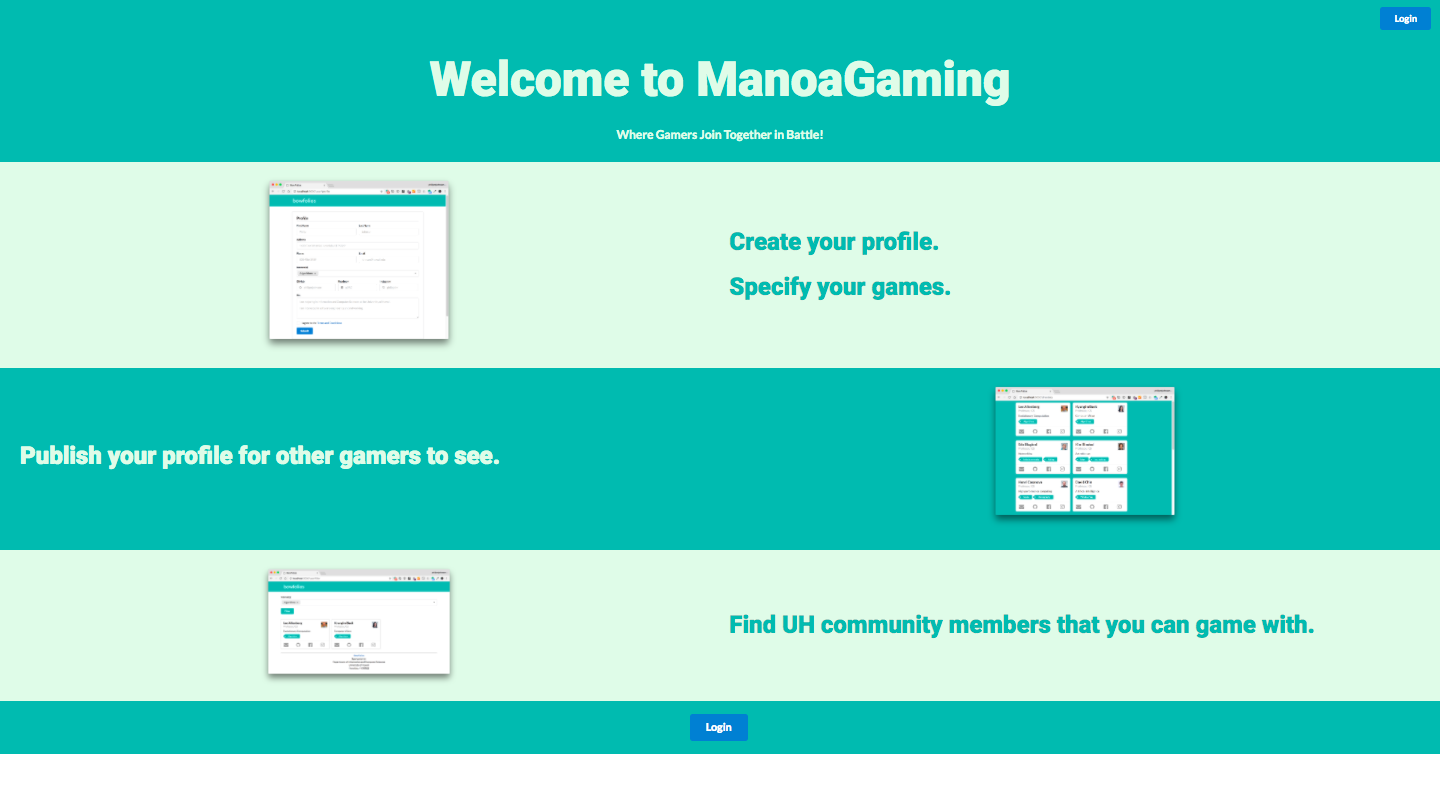
Manoa Gaming is a Meteor application where gamers can meet other gamers to join together and play their favorite games for the University of Hawaii community. When you come to the site, you are greeted by the following landing page with a video playback in the background:
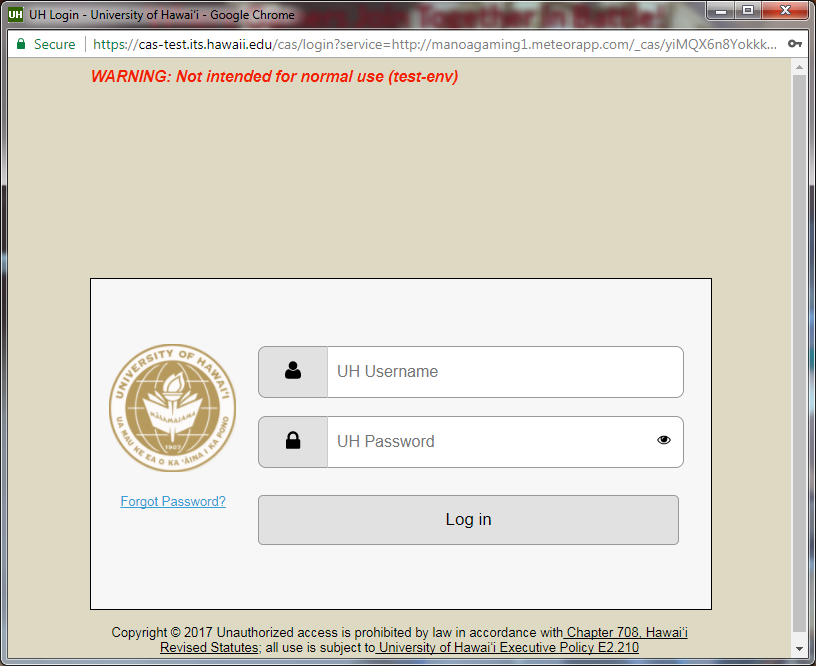
Anyone with a UH account can login to Manoa Gaming by clicking on the login button. The UH CAS authentication screen then appears and requests your UH account and password:
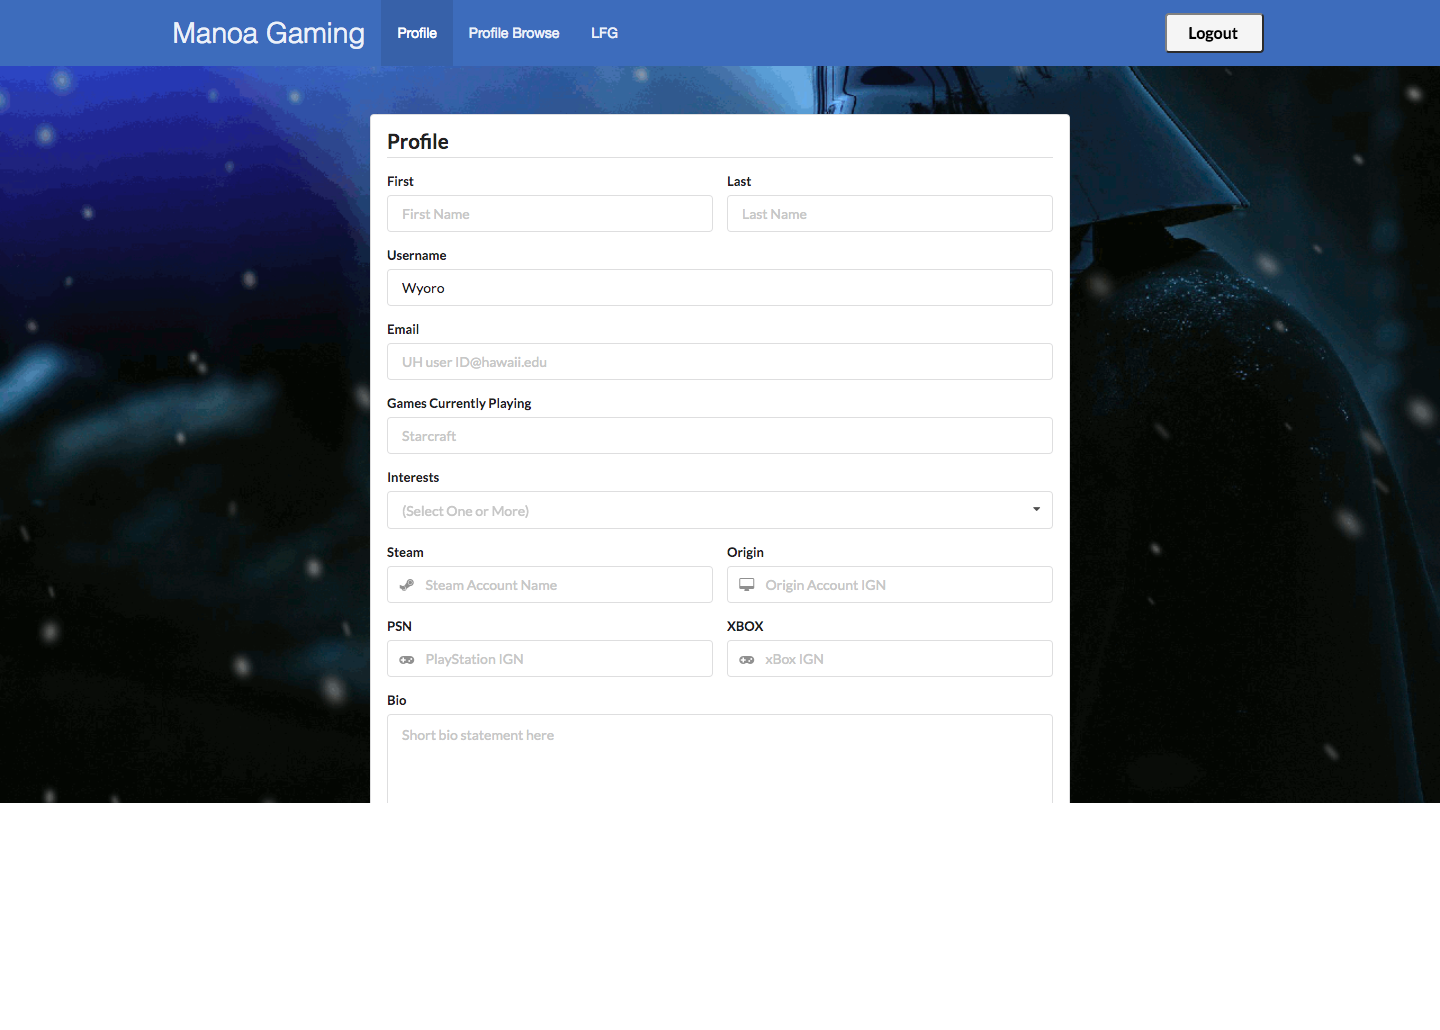
Once authenticated, you can create a profile that provides a biographical statement and list the games you play, plus links to selected gaming sites to provide your in-game name(ign).
After creating a profile, you will be listed on the looking for group page(lfg):


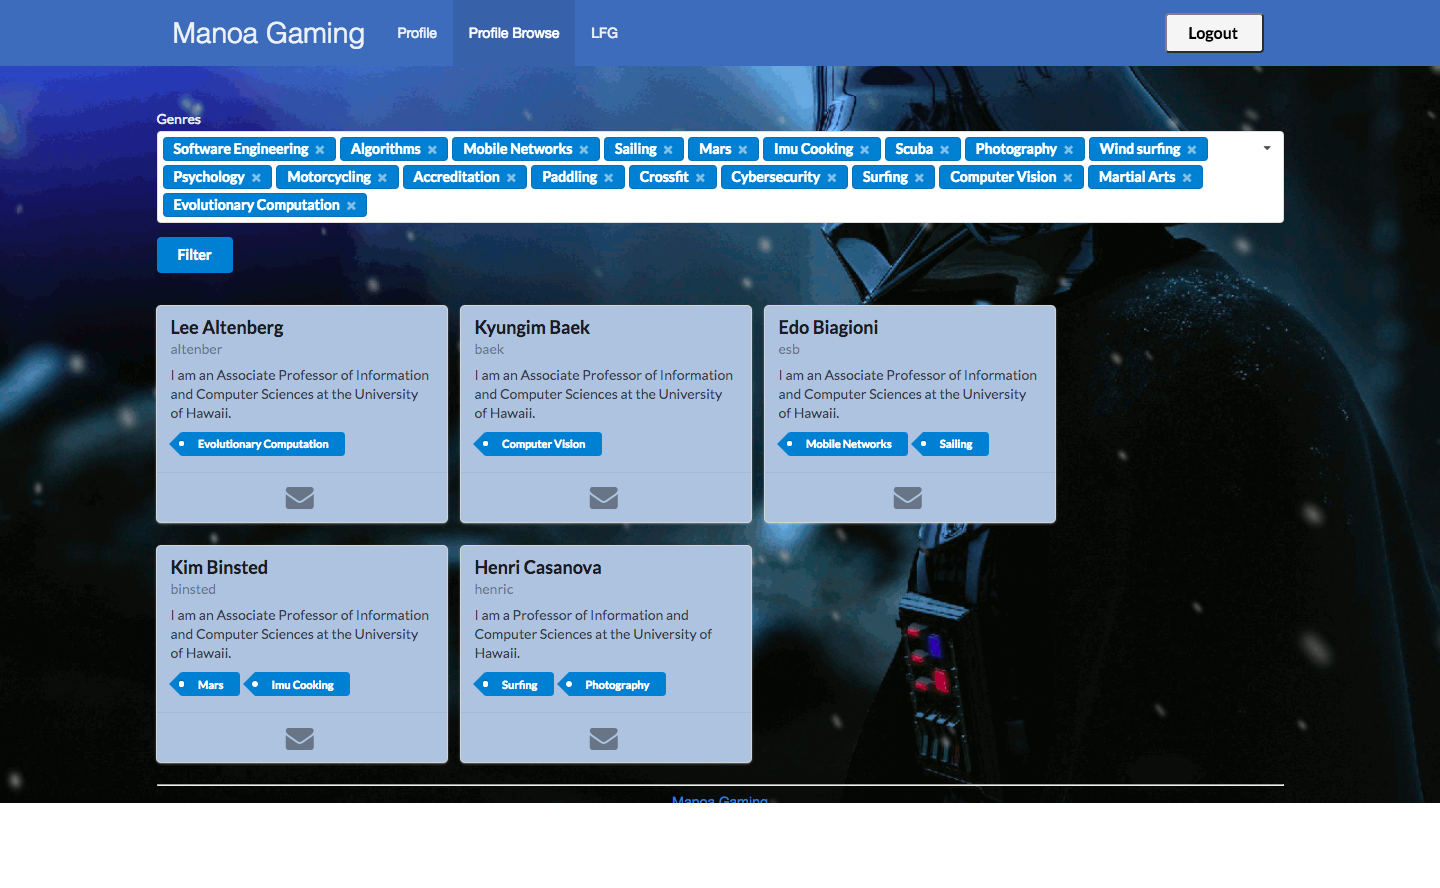
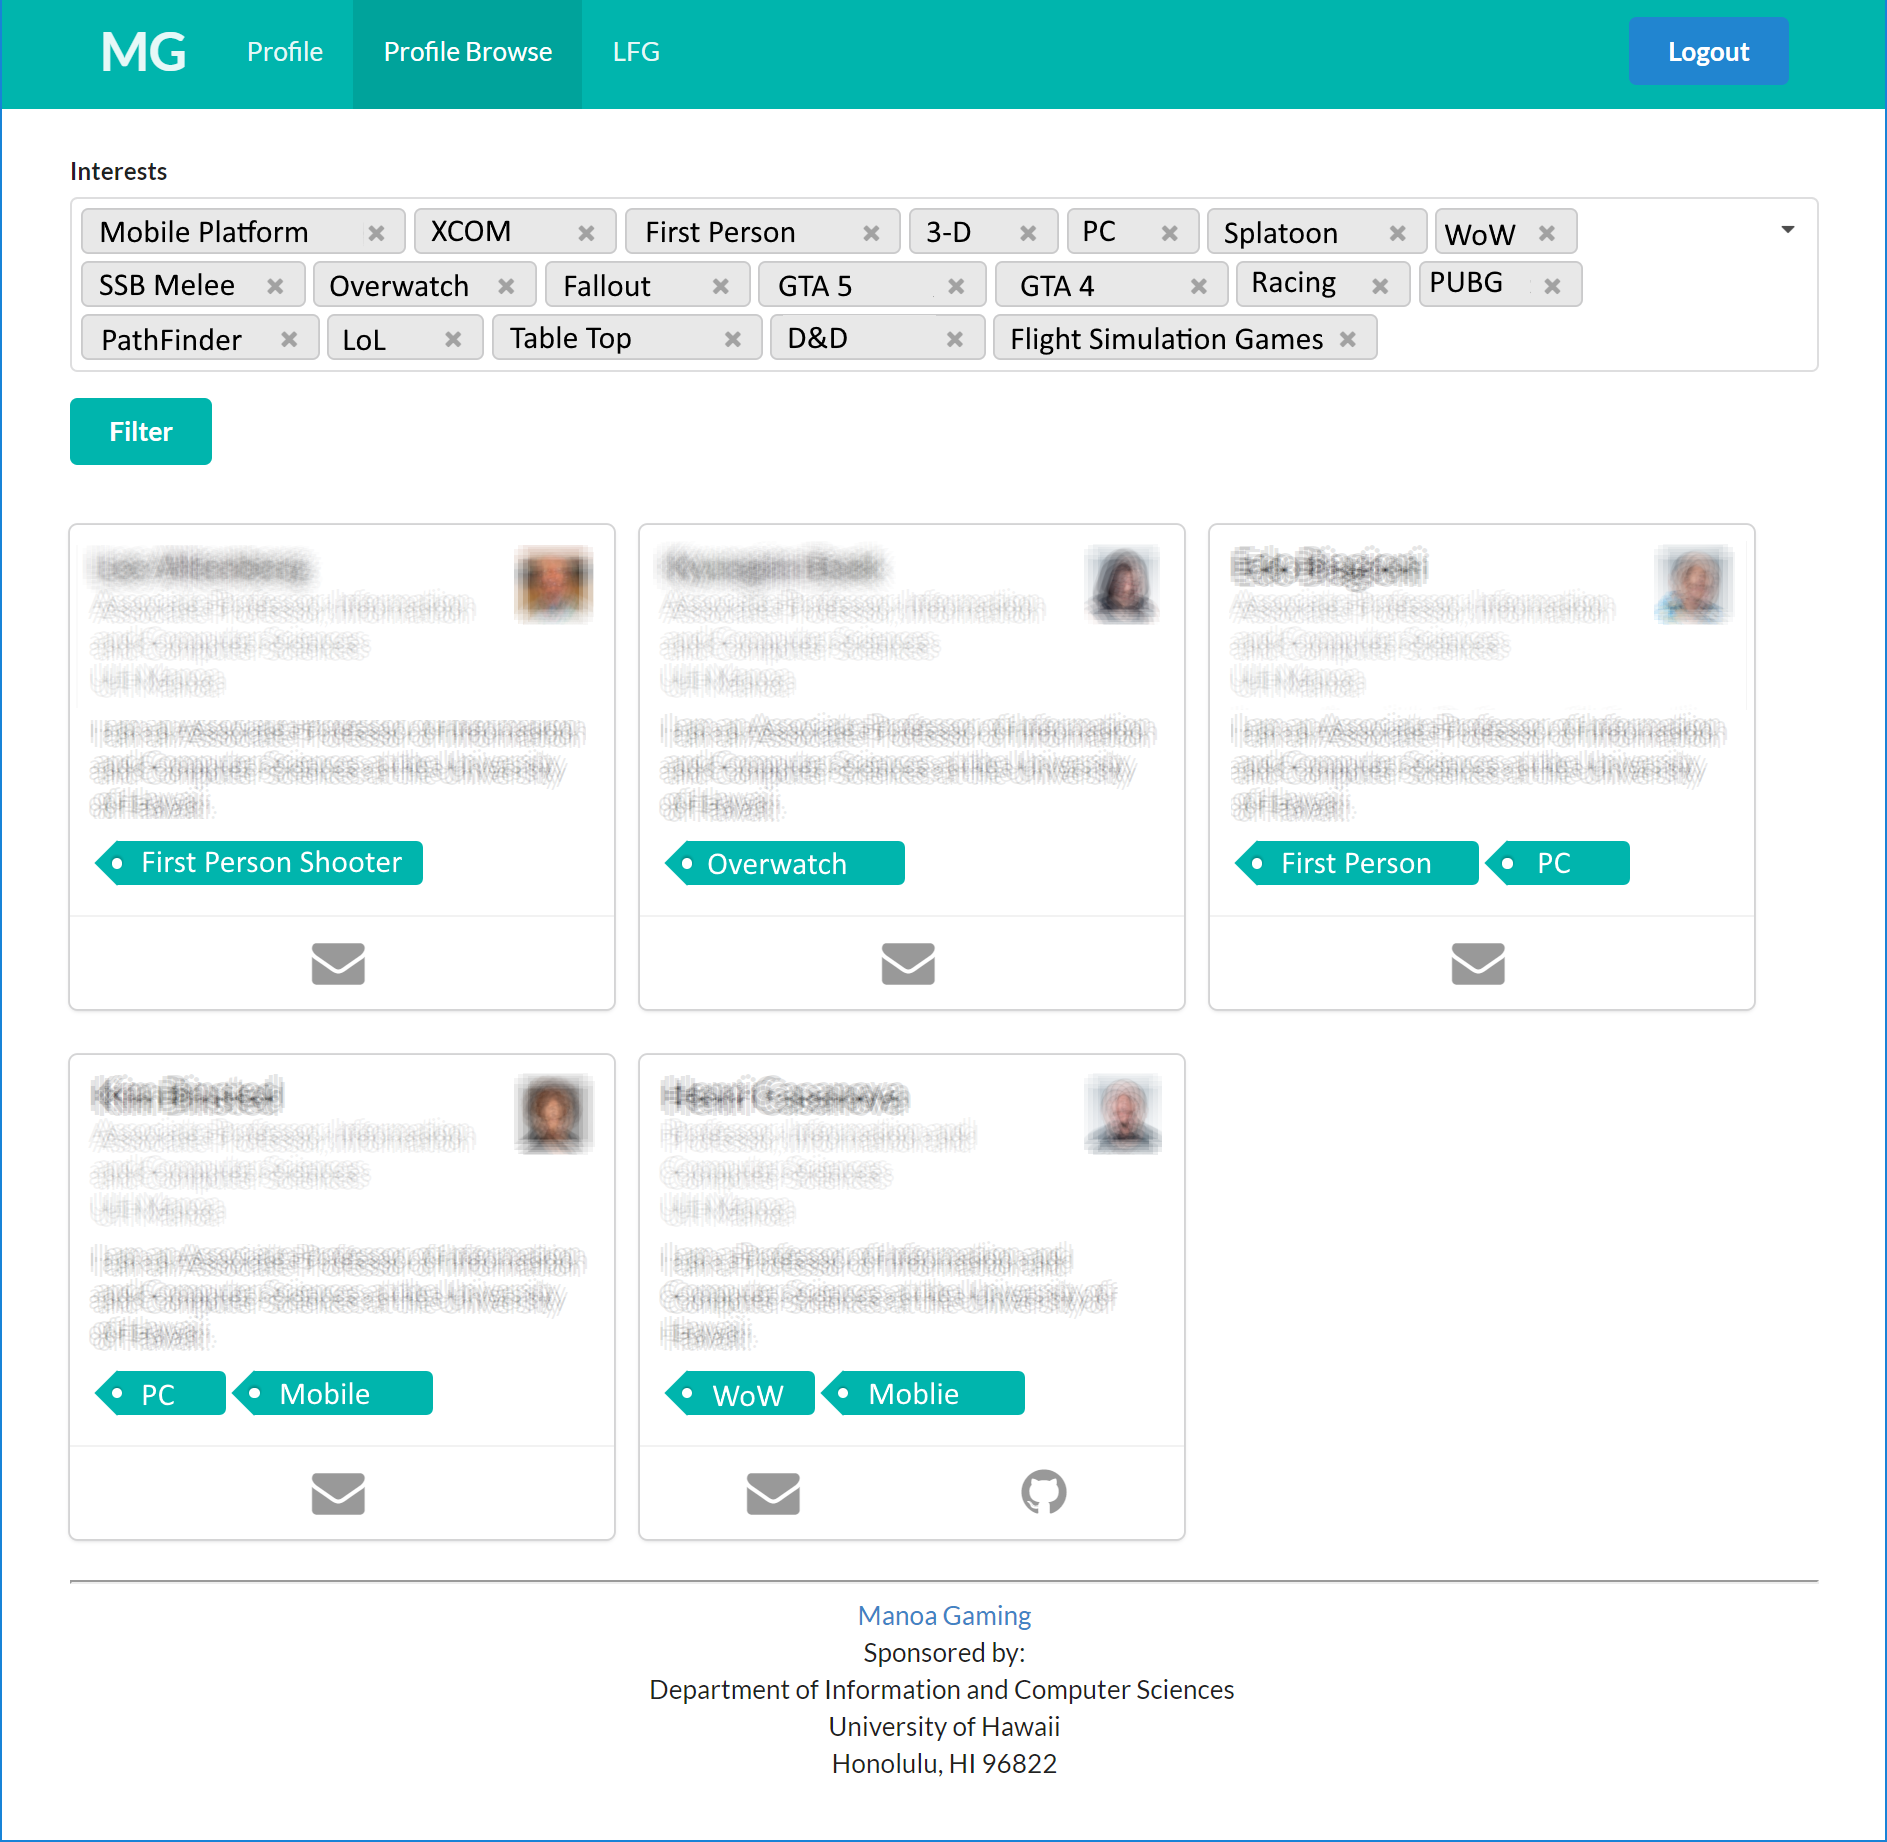
Manoa Gaming also provides a Profile Browse page, available to those who can login to the system with their UH account. The Profile Browse page allows you to display all profiles with a given interest:
Installation
First, install Meteor.
Second, download a copy of Manoa Gaming, or clone it using git.
Third, cd into the app/ directory and install libraries with:
$ meteor npm install
Fourth, run the system with:
$ meteor npm run start
If all goes well, the application will appear at http://localhost:3000. If you have an account on the UH test CAS server, you can login.
Application Design
Directory structure
The top-level directory structure contains:
app/        # holds the Meteor application sources
config/     # holds configuration files, such as settings.development.json
.gitignore  # don't commit IntelliJ project files, node_modules, and settings.production.json
This structure separates configuration files (such as the settings files) in the config/ directory from the actual Meteor application in the app/ directory.
The app/ directory has this top-level structure:
client/
  lib/           # holds Semantic UI files.
  head.html      # the <head>
  main.js        # import all the client-side html and js files.

imports/
  api/           # Define collection processing code (client + server side)
    base/
    interest/
    profile/
  startup/       # Define code to run when system starts up (client-only, server-only)
    client/
    server/
  ui/
    components/  # templates that appear inside a page template.
    layouts/     # Layouts contain common elements to all pages (i.e. menubar and footer)
    pages/       # Pages are navigated to by FlowRouter routes.
    stylesheets/ # CSS customizations, if any.

node_modules/    # managed by Meteor

private/
  database/      # holds the JSON file used to initialize the database on startup.

public/
  images/        # holds static images for landing page and predefined sample users.

server/
   main.js       # import all the server-side js files.
Import conventions
This system adheres to the Meteor 1.4 guideline of putting all application code in the imports/ directory, and using client/main.js and server/main.js to import the code appropriate for the client and server in an appropriate order.
This system accomplishes client and server-side importing in a different manner than most Meteor sample applications. In this system, every imports/ subdirectory containing any Javascript or HTML files has a top-level index.js file that is responsible for importing all files in its associated directory.
Then, client/main.js and server/main.js are responsible for importing all the directories containing code they need. For example, here is the contents of client/main.js:
import '/imports/startup/client';
import '/imports/ui/components/form-controls';
import '/imports/ui/components/directory';
import '/imports/ui/components/user';
import '/imports/ui/components/landing';
import '/imports/ui/layouts/directory';
import '/imports/ui/layouts/landing';
import '/imports/ui/layouts/shared';
import '/imports/ui/layouts/user';
import '/imports/ui/pages/directory';
import '/imports/ui/pages/filter';
import '/imports/ui/pages/landing';
import '/imports/ui/pages/user';
import '/imports/api/base';
import '/imports/api/profile';
import '/imports/api/interest';
import '/imports/ui/stylesheets/style.css';
Apart from the last line that imports style.css directly, the other lines all invoke the index.js file in the specified directory.
We use this approach to make it more simple to understand what code is loaded and in what order, and to simplify debugging when some code or templates do not appear to be loaded. In our approach, there are only two places to look for top-level imports: the main.js files in client/ and server/, and the index.js files in import subdirectories.
Note that this two-level import structure ensures that all code and templates are loaded, but does not ensure that the symbols needed in a given file are accessible. So, for example, a symbol bound to a collection still needs to be imported into any file that references it.
Naming conventions
This system adopts the following naming conventions:
- Files and directories are named in all lowercase, with words separated by hyphens. Example: accounts-config.js
- “Global” Javascript variables (such as collections) are capitalized. Example: Profiles.
- Other Javascript variables are camel-case. Example: collectionList.
- Templates representing pages are capitalized, with words separated by underscores. Example: Directory_Page. The files for this template are lower case, with hyphens rather than underscore. Example: directory-page.html, directory-page.js.
- Routes to pages are named the same as their corresponding page. Example: Directory_Page.
Data model
The Manoa Gaming data model is implemented by three Javascript classes: ProfileCollection and InterestCollection. Both of these classes encapsulate a MongoDB collection with the same name and export a single variable (Profiles and Interests)that provides access to that collection.
Any part of the system that manipulates the Manoa Gaming data model imports the Profiles or Interests variable, and invokes methods of that class to get or set data.
There are many common operations on MongoDB collections. To simplify the implementation, the ProfileCollection and InterestCollection classes inherit from the BaseCollection class.
The BaseUtilities file contains functions that operate across both classes.
Both ProfileCollection and InterestCollection have Mocha unit tests in ProfileCollection.test.js and InterestCollection.test.js. See the section below on testing for more details.
CSS
The application uses the Semantic UI CSS framework. To learn more about the Semantic UI theme integration with Meteor, see Semantic-UI-Meteor.
The Semantic UI theme files are located in app/client/lib/semantic-ui directory. Because they are located in the client/ directory and not the imports/ directory, they do not need to be explicitly imported to be loaded. (Meteor automatically loads all files into the client that are located in the client/ directory).
Note that the user pages contain a menu fixed to the top of the page, and thus the body element needs to have padding attached to it. However, the landing page does not have a menu, and thus no padding should be attached to the body element on that page. To accomplish this, the router uses “triggers” to add an remove the appropriate classes from the body element when a page is visited and then left by the user.
Routing
For display and navigation among its four pages, the application uses Flow Router.
Routing is defined in imports/startup/client/router.js.
Manoagaming defines the following routes:
- The
/route goes to the public landing page. - The
/directoryroute goes to the public directory page. - The
/<user>/profileroute goes to the profile page associated with<user>, which is the UH account name. - The
/<user>/filterroute goes to the filter page associated with<user>, which is the UH account name.
Authentication
For authentication, the application uses the University of Hawaii CAS test server, and follows the approach shown in meteor-example-uh-cas.
When the application is run, the CAS configuration information must be present in a configuration file such as config/settings.development.json.
Anyone with a UH account can login and use Manoagaming to create a portfolio. A profile document is created for them if none already exists for that username.
Authorization
The landing and directory pages are public; anyone can access those pages.
The profile and filter pages require authorization: you must be logged in (i.e. authenticated) through the UH test CAS server, and the authenticated username returned by CAS must match the username specified in the URL. So, for example, only the authenticated user johnson can access the pages http://localhost:3000/johnson/profile and http://localhost:3000/johnson/filter.
To prevent people from accessing pages they are not authorized to visit, template-based authorization is used following the recommendations in Implementing Auth Logic and Permissions.
The application implements template-based authorization using an If_Authorized template, defined in If_Authorized.html and If_Authorized.js.
Configuration
The config directory is intended to hold settings files. The repository contains one file: config/settings.development.json.
The .gitignore file prevents a file named settings.production.json from being committed to the repository. So, if you are deploying the application, you can put settings in a file named settings.production.json and it will not be committed.
Manoa Gaming checks on startup to see if it has an empty database in initialize-database.js, and if so, loads the file specified in the configuration file, such as settings.development.json. For development purposes, a sample initialization for this database is in initial-collection-data.json.
Quality Assurance
ESLint
Manoagaming includes a .eslintrc file to define the coding style adhered to in this application. You can invoke ESLint from the command line as follows:
meteor npm run lint
ESLint should run without generating any errors.
It’s significantly easier to do development with ESLint integrated directly into your IDE (such as IntelliJ).
Data model unit tests
To run the unit tests on the data model, invoke the script named ‘test’, which is defined in the package.json file:
meteor npm run test
This outputs the results to the console. Here is an example of a successful run, with timestamps removed:
[~/github/bowfolios/bowfolios/app]-> meteor npm run test

> bowfolios@ test /Users/philipjohnson/github/bowfolios/bowfolios/app
> TEST_WATCH=1 meteor test --driver-package meteortesting:mocha

[[[[[ Tests ]]]]]

=> Started proxy.
=> Started MongoDB.

(STDERR) Note: you are using a pure-JavaScript implementation of bcrypt.
(STDERR) While this implementation will work correctly, it is known to be
(STDERR) approximately three times slower than the native implementation.
(STDERR) In order to use the native implementation instead, run
(STDERR)
(STDERR)   meteor npm install --save bcrypt
(STDERR)
(STDERR) in the root directory of your application.

 --------------------------------
 ----- RUNNING SERVER TESTS -----
 --------------------------------

=> Started your app.

=> App running at: http://localhost:3000/
    InterestCollection
    ✓ #define, #isDefined, #removeIt, #dumpOne, #restoreOne (69ms)
    ✓ #findID, #findIDs
    ProfileCollection
    ✓ #define, #isDefined, #removeIt, #dumpOne, #restoreOne (66ms)
    ✓ #define (illegal interest)
    ✓ #define (duplicate interests)

   5 passing (178ms)

Load the app in a browser to run client tests, or set the TEST_BROWSER_DRIVER environment variable. See https://github.com/DispatchMe/meteor-mocha/blob/master/README.md#run-app-tests
Development History
The development process for Manoa Gaming conformed to Issue Driven Project Management practices. In a nutshell, development consists of a sequence of Milestones. Milestones consist of issues corresponding to 2-3 day tasks. GitHub projects are used to manage the processing of tasks during a milestone.
The following sections document the development history of BowFolios.
User Feedback
“I wish this was a real thing! Would be nice to have search or sorting”
“Seems cool. Would use”
“Brah you gonna get sued for that background video. Looks cool though”
“I like the idea for LFGs, needs a little work but I think it could be cool.”
“G8 sh8 m8, I r8 8/8”
Milestone 1: Mockup development
This milestone started on November 7, 2017 and ended on November 22, 2017.
The goal of Milestone 1 was to create a set of HTML pages providing a mockup of the pages in the system. To simplify things, the mockup was developed as a Meteor app. This meant that each page was a template and that FlowRouter was used to implement routing to the pages.
Mockups for the following four pages were implemented during M1:


Milestone 1 was implemented as M1::

Milestone 1 consisted of five issues, and progress was managed via the M1:

Each issue was implemented in its own branch, and merged into master when completed:

Milestone 2: Data model development
This milestone started on November 22, 2017 and ended on December 13, 2017.
The goal of Milestone 2 was to clean up and add more to the mockup pages while implementing more functions to each of the pages.
Also in this milestone, we implemented a set of mocha tests for the data model classes. These tests make sure we can create, manipulate, and delete the data model documents successfully. These tests are documented above.
Milestone 2 was implemented as M2::

Milestone 2 consisted of two issues, and progress was managed via the M2:

Each issue was implemented in its own branch, and merged into master when completed:
